Please note this information is for educational purposes only and procedures should not conducted based on this information. OSCEstop and authors take no responsibility for errors or for the use of any content.
Introduction
Wash hands, Introduce self, Patients name & DOB, Explain procedure and obtain consent form parents (or child if appropriate)
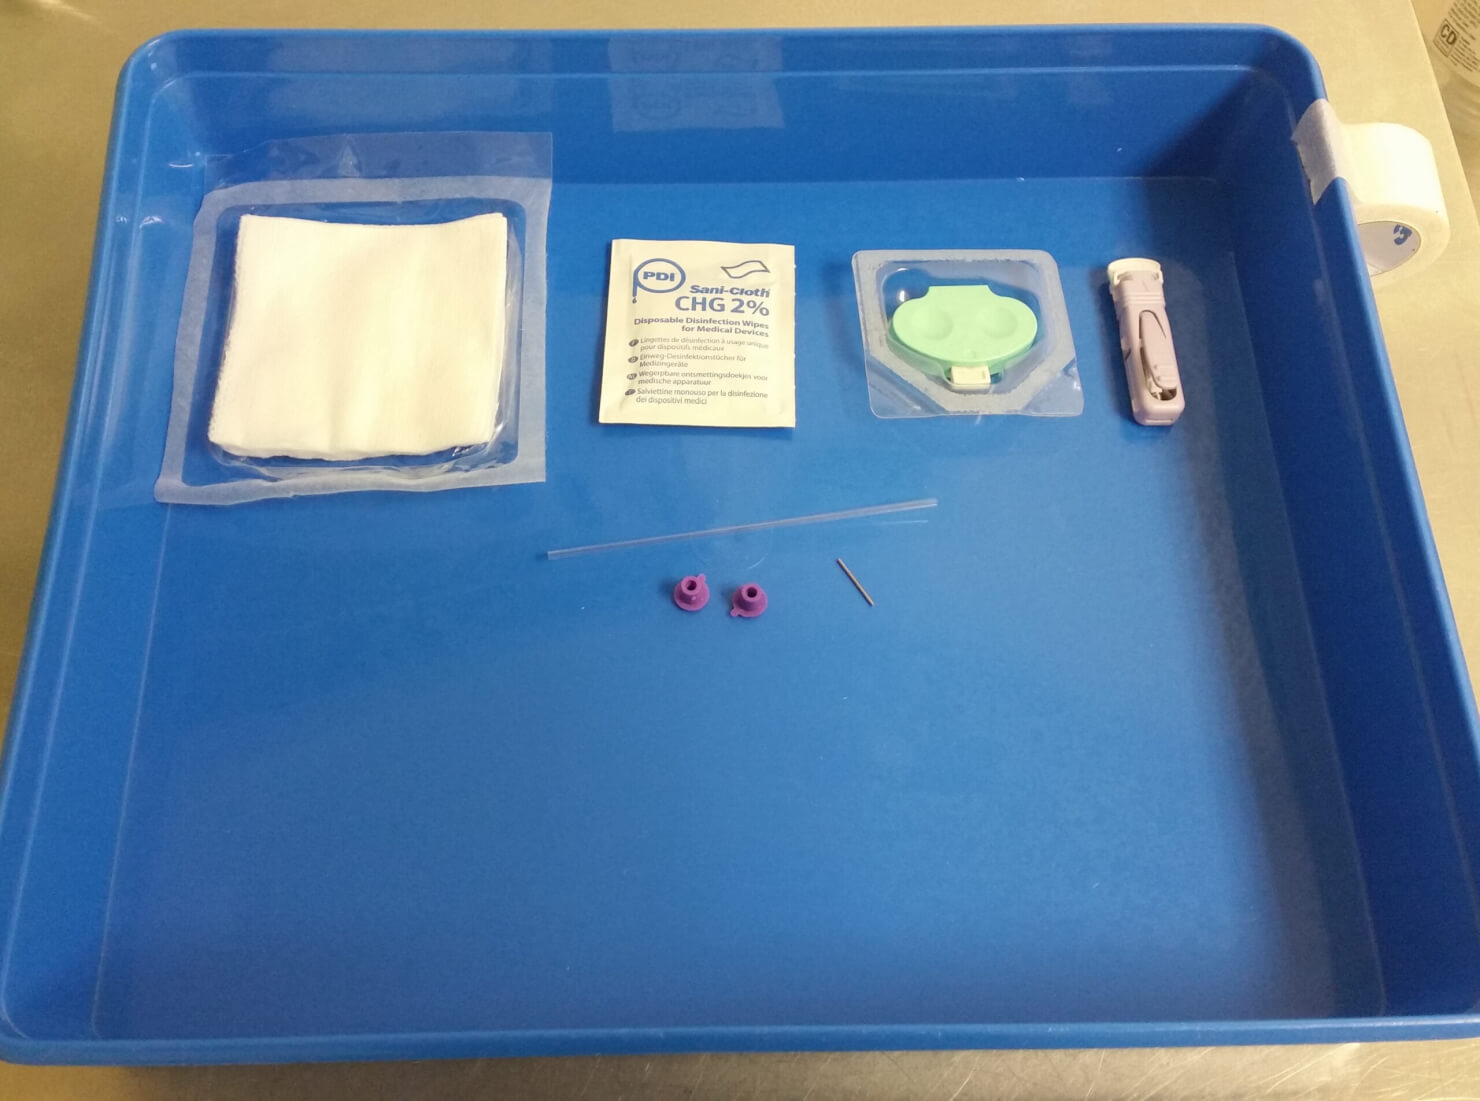
Paediatric capillary blood gas equipment
Preparation part
Wash hands
Clean tray
Gather equipment around tray (think through what you need in order)
Equipment list
Gloves
Vaseline (if available)
Alcohol 70%/chlorhexidine 2% skin cleansing wipe
Sterile lancet/puncture system
Capillary sample collection tube (with bungs and magnet rod)
Cotton gauze swabs
Tape
Wash hands
Open packets and place equipment neatly in tray in plastic parts of packets
Return to patient (with tray and sharps bin)
Patient part
Preparation
Wash hands and apply gloves
Identify appropriate site:
Lateral or medial plantar heel (in young infant)
Medial or lateral border of finger pulp (in older child)
Apply Vaseline to area if available (to prevent blood globule dispersing in skin ridges)
Warm the area
If using the foot, hold the ankle dorsiflexed with one hand
Sterilise area – wipe in spiral motion working outwards and wait 30 seconds for it to dry
Procedure
Puncture skin with lancet/puncture system (then drop into sharps bin)
Wipe off the first drop of blood with cotton gauze
Once a blood globule has built up, holding the sample collection tube horizontally, press the end gently onto the globule of blood until the blood enters the tube
Then move the collection tube away until the next globule has accumulated, then press the end onto the globule again
Repeat this until the tube is filled
Tips:
If blood if not forming freely, gently massage the area to encourage blood flow and gently squeeze the lower leg/ankle or digit (but let the capillaries refill intermittently)
Intermittently dab the area with cotton gauze swab to prevent coagulation of any blood left near the puncture site
There must not be any air bubbles in the tube or the gas machine will not be able to analyse it – keep the tube horizontal at all times to avoid this
Once tube is full
Insert magnet rod into one end and place a bung on each end, then mix by inverting it slowly and label it with a patient ID sticker
Place gauze over the puncture site and tape down or apply plaster